How to Set Up a Travel eSIM on iPhone 16: Complete Guide (2026)
A complete walkthrough for setting up a travel eSIM on any iPhone 16 model. Covers buying a plan, installing via QR code or manual entry, configuring dual SIM to keep your home number and WhatsApp active, activating at your destination, managing data usage during the trip, and what to do after you return — plus answers to the most common iPhone 16 eSIM questions.
Step-by-step guide to installing and activating a travel eSIM on iPhone 16 and iPhone 16 Pro. Covers QR code setup, manual installation, dual SIM configuration with your home number, and what to do when things go wrong.
What You Need Before Starting
iPhone 16, 16 Plus, 16 Pro, or 16 Pro Max (all models support eSIM)
iOS 18 or later (Settings → General → Software Update to check)
Unlocked phone — carrier-locked iPhones may block third-party eSIMs
WiFi connection — you need internet to download the eSIM profile
Your eSIM QR code — you'll get this by email after purchasing a travel eSIM plan
Important: iPhone 16 models sold in the US have no physical SIM tray — they're eSIM only. Models sold in other regions have one nano-SIM slot plus eSIM support.
Step 1: Buy Your Travel eSIM Plan (Before Your Trip)
Don't wait until you're at the airport. Buy and install your eSIM while you're still on WiFi at home.
Go to eSIMHop plans and select your destination country
Choose a plan based on how much data you need (not sure? check our data usage guide)
Complete checkout — you'll receive a QR code and activation details by email within minutes
Step 2: Install the eSIM via QR Code
This is the fastest method. Takes about 2 minutes.
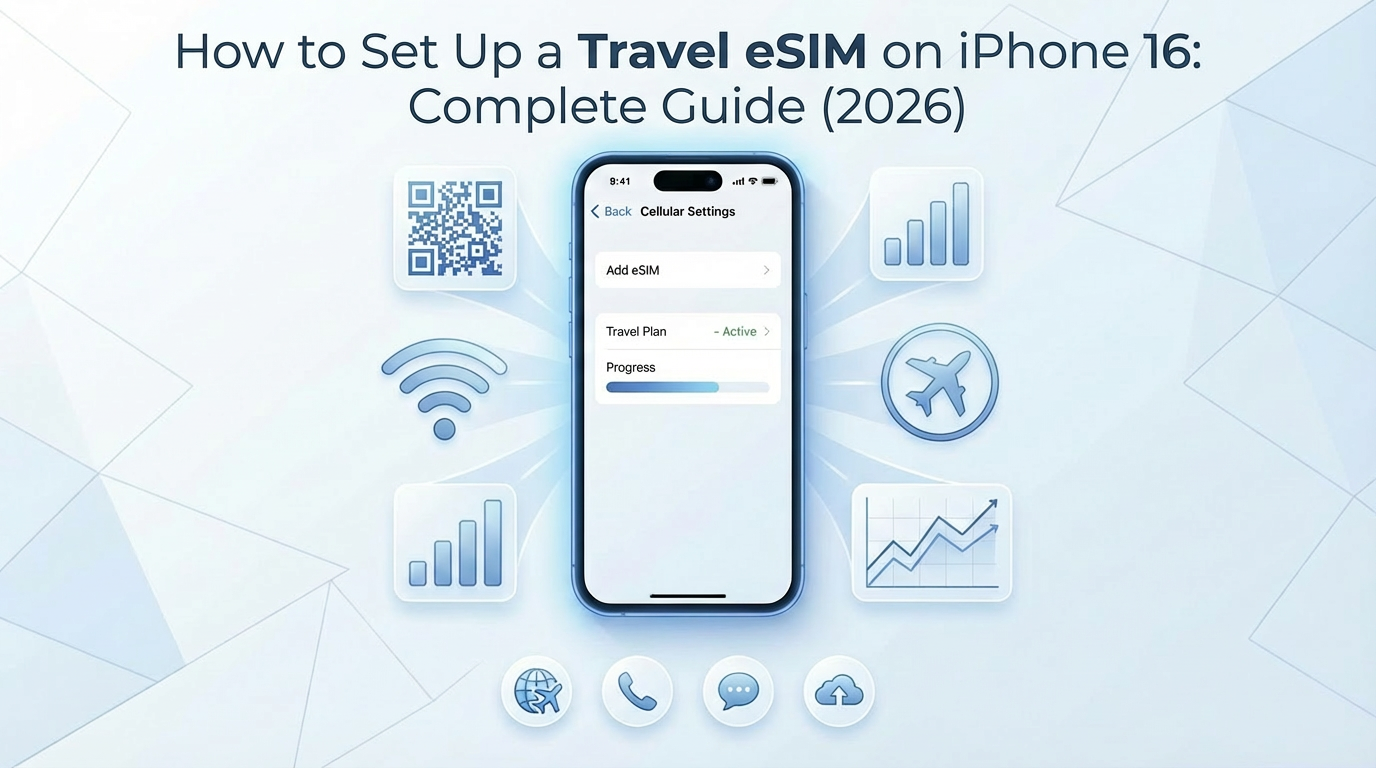
Open Settings → Cellular → Add eSIM
Tap Use QR Code
Point your iPhone camera at the QR code from your email
If the QR code is on the same iPhone, take a screenshot first, then use Enter Details Manually instead (you can't scan a QR code displayed on the same phone)
Tap Continue when the cellular plan details appear
Wait for "Activating..." — this usually takes 10-30 seconds
When prompted, label the eSIM (e.g., "Japan Travel" or "Thailand Data") — this helps you identify it later
Alternative: Manual Installation
If the QR code won't scan, use manual entry:
Open Settings → Cellular → Add eSIM → Enter Details Manually
Enter the SM-DP+ Address and Activation Code from your provider's email
These are case-sensitive — copy-paste if possible
Tap Next and wait for activation
Step 3: Configure Dual SIM (Keep Your Home Number)
After installing the travel eSIM, your iPhone will ask how you want to use your two lines. This is critical to get right.
Set your lines like this:
Function | Line to Use | Why |
|---|---|---|
Default Voice (calls) | Home SIM | Keep your phone number for incoming calls |
Default SMS | Home SIM | Keep receiving SMS and verification codes |
Cellular Data | Travel eSIM | Use cheap travel data instead of expensive roaming |
iMessage & FaceTime | Home SIM | Keep your existing iMessage identity |
How to configure:
Go to Settings → Cellular
Tap Default Voice Line → select your home SIM
Tap Cellular Data → select your travel eSIM
Turn OFF "Allow Cellular Data Switching" — this prevents your phone from secretly using your expensive home SIM for data
Step 4: Activate When You Arrive
Most travel eSIMs start counting your data/validity period when you first connect to a network at your destination. So don't activate until you arrive.
When your plane lands, go to Settings → Cellular
Tap your travel eSIM line
Turn ON Turn On This Line
Turn ON Data Roaming — yes, you need this even with a travel eSIM. Without it, your phone won't connect to foreign networks
Wait 10-30 seconds. You should see signal bars and a carrier name appear
If it doesn't connect:
Toggle Airplane Mode on → wait 10 seconds → off
If still nothing, restart your iPhone
See our full troubleshooting guide for more fixes
Step 5: Verify Your Connection
Once connected, verify everything is working:
Open Safari and load any webpage — if it loads, your data is working
Check Settings → Cellular → your travel eSIM should show data usage increasing
Open Maps and confirm location works
Send a WhatsApp or iMessage to confirm messaging works
Managing Your eSIM During the Trip
Check Remaining Data
Settings → Cellular → tap your travel eSIM → check data usage under "Current Period"
Note: this shows total data used since installation, not remaining data. Check your provider's dashboard for remaining balance
Switch Data Lines
If you need to temporarily switch back to your home SIM for data:
Settings → Cellular → Cellular Data → select your home SIM
Remember to switch back to your travel eSIM to avoid roaming charges
Top Up Data
Running low? You can purchase additional data on eSIMHop without reinstalling. Many plans support instant top-ups.
After Your Trip
When you're done traveling:
Go to Settings → Cellular → tap your travel eSIM
Turn OFF Turn On This Line
Switch Cellular Data back to your home SIM
Don't delete the eSIM if you plan to visit the same country again — some plans allow reactivation or top-ups
If you want to remove it permanently:
Settings → Cellular → tap the travel eSIM → Delete eSIM
Warning: once deleted, the QR code usually can't be reused. You'll need to purchase a new plan
iPhone 16 eSIM FAQ
How many eSIMs can iPhone 16 store?
iPhone 16 can store up to 8 eSIM profiles, but only 2 can be active simultaneously. You can switch between stored profiles without re-scanning QR codes.
Can I use two travel eSIMs at the same time?
Yes. iPhone 16 supports dual eSIM — you can have two eSIMs active at once. Useful if you're visiting two countries and want both plans ready.
Will my WhatsApp still work?
Yes. WhatsApp is tied to your phone number, not your SIM. As long as your travel eSIM provides data, WhatsApp will work normally with your existing number.
Does the eSIM drain more battery?
Having two active SIMs uses slightly more battery (roughly 5-10% more per day). If battery is a concern, disable your home SIM line when you don't need it.
Can I install the eSIM before my trip and activate it later?
Yes, this is recommended. Install at home on WiFi, then activate when you land. Most plans start counting validity from first network connection, not from installation.
What if my iPhone 16 is carrier-locked?
You'll need to unlock it first. Contact your carrier — in many countries they're required to unlock your phone after the contract period or upon request. A locked iPhone will show "Cellular Plan Cannot Be Added" when you try to install a third-party eSIM.
Ready for your next trip? Browse eSIM plans for 170+ countries — plans start from $1.00 with instant QR code delivery.
Download the eSIMHop app for easier management
Buy, install and manage your eSIM plans on the go