
Do You Need WiFi to Activate an eSIM? What to Do at the Airport
Answers the common question of whether WiFi is needed to activate an eSIM. Covers the difference between downloading vs activating an eSIM, step-by-step timing advice for travelers, what to do if you have no WiFi at arrival, and troubleshooting tips for airport activation scenarios.
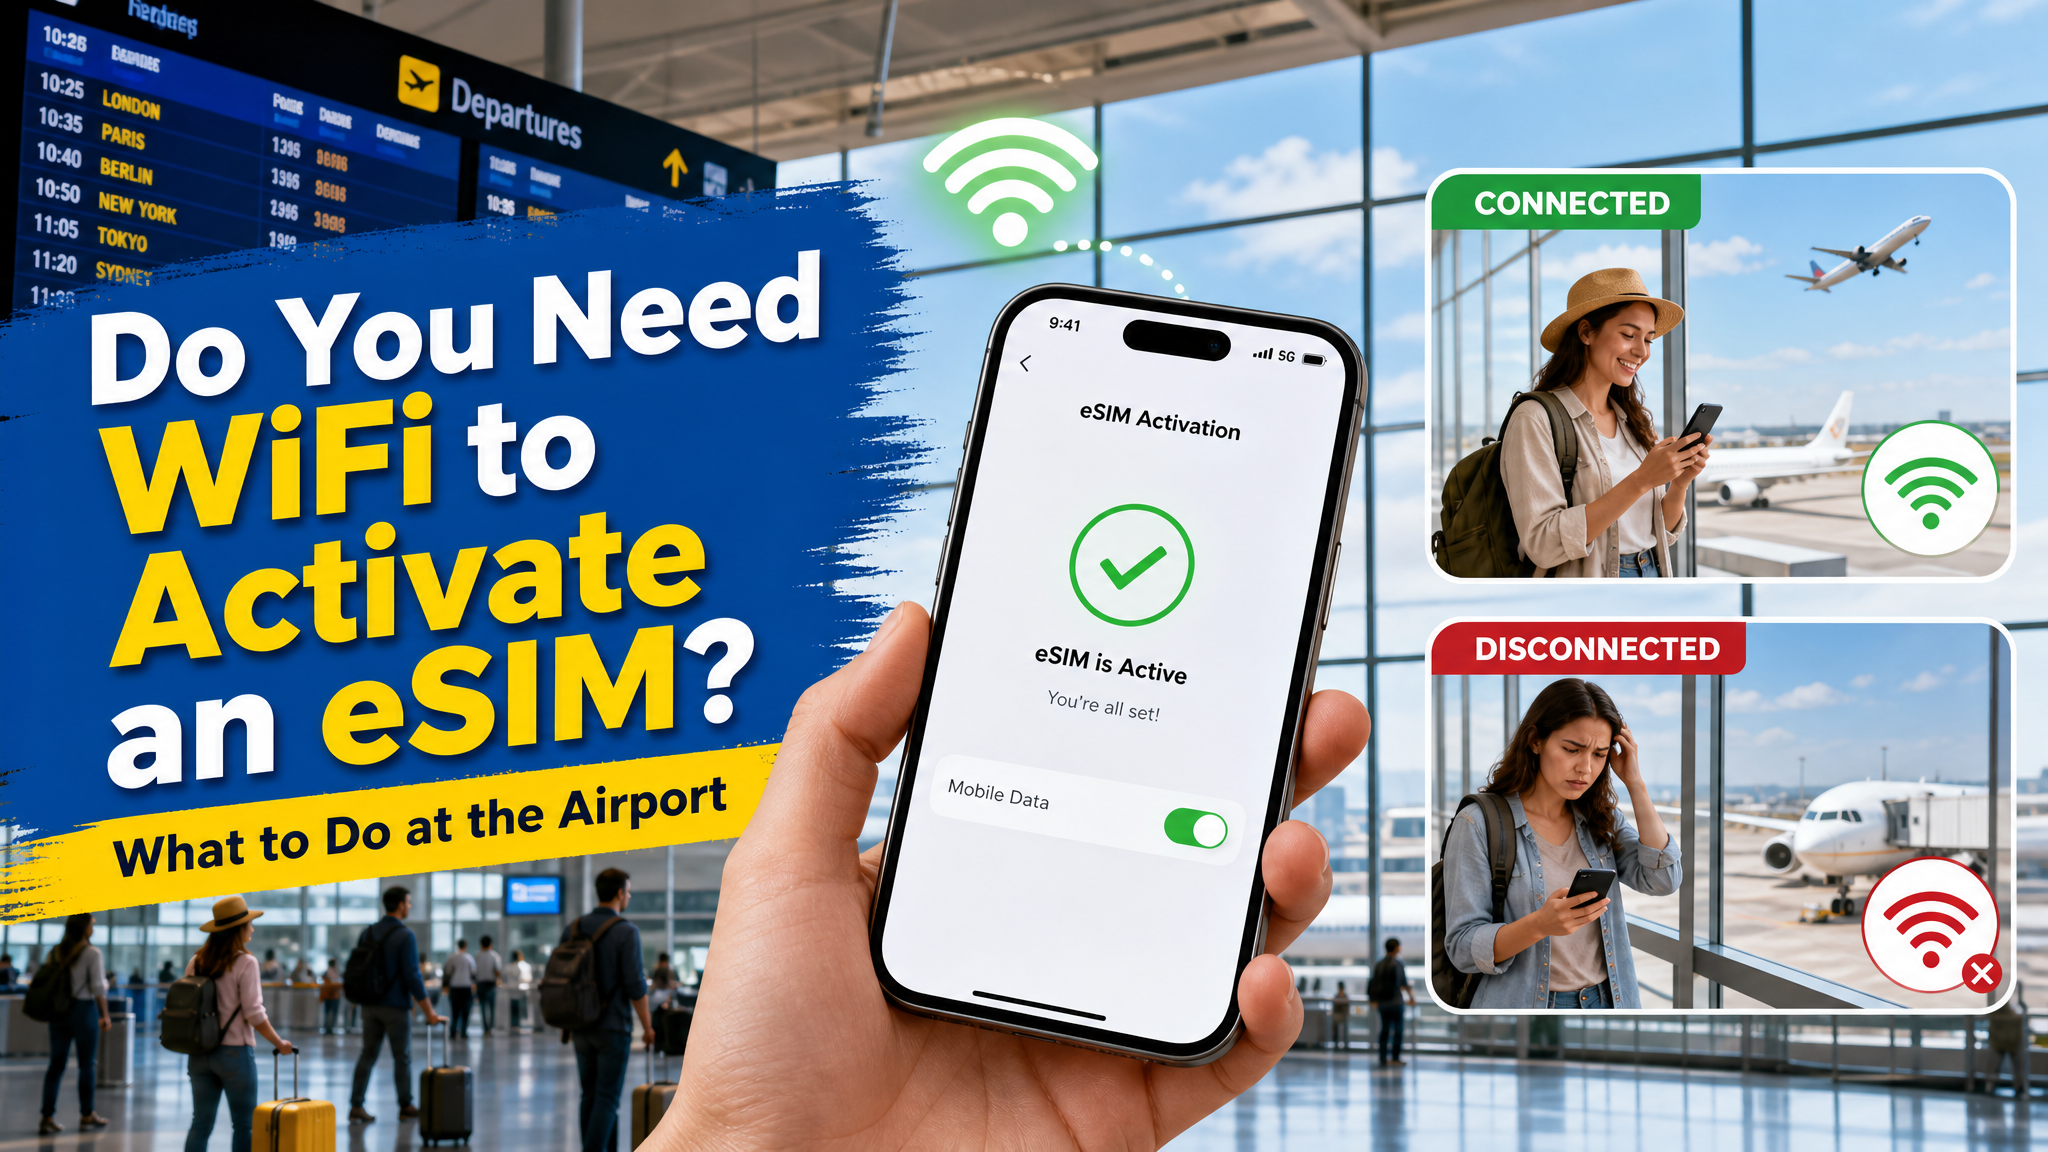
You've just bought an eSIM for your trip. You're about to board your flight. But wait — do you need WiFi to download and activate it? What if there's no WiFi at your destination airport? This guide answers every question about eSIM activation and internet requirements.
Short Answer
To download/install an eSIM: Yes, you need an internet connection (WiFi or mobile data).
To activate an eSIM that's already installed: Usually no — it activates automatically when you arrive at your destination.
The key is understanding the difference between these two steps.
The Two Steps of eSIM Setup
Step 1: Download & Install (Requires Internet)
This is when your phone downloads the eSIM profile from the carrier's server. You need either WiFi or an existing mobile data connection for this step.
What happens: Your phone scans a QR code or enters activation details → contacts the carrier server → downloads the eSIM profile → installs it on your device.
Internet needed: ✅ Yes (WiFi or mobile data)
Data used: Very small — typically 1-5MB
Step 2: Activate & Connect (No WiFi Needed)
Once the eSIM profile is installed on your phone, it connects to the local network at your destination automatically. No WiFi required.
What happens: You land → turn off airplane mode → your eSIM connects to local towers → you have mobile data.
Internet needed: ❌ No (the eSIM IS your internet connection now)
When Should You Install Your eSIM?
✅ Best Option: Install Before You Leave Home
This is the recommended approach for all travelers:
- Purchase your eSIM plan (you'll receive a QR code via email)
- While still on your home WiFi, scan the QR code and install the eSIM
- The eSIM is now installed but dormant — it won't use data until you arrive
- When you land at your destination, simply enable the eSIM in your phone's settings
- You're connected within seconds
Why this is best: Zero stress, zero airport WiFi hunting. You can even test that the eSIM installed correctly before you leave.
✅ Also Fine: Install at the Airport Before Departure
If you bought your eSIM last-minute:
- Connect to your departure airport's WiFi
- Scan the QR code from your email
- Install the eSIM profile
- Done — it will activate when you arrive
Most international airports have free WiFi: Changi (Singapore), Narita (Japan), Incheon (Korea), Heathrow (London), Dubai (DXB), and most major hubs offer free WiFi.
⚠️ Possible But Risky: Install After Landing
If you forgot to install before your flight:
- Connect to your arrival airport's WiFi (if available)
- Scan the QR code and install
- Enable the eSIM
Risk: Not all airports have reliable free WiFi. Some require local phone number verification. If WiFi is unavailable, you're stuck without data.
What If There's No WiFi at My Destination Airport?
Don't panic. Here are your backup options:
Option 1: Use Your Home Carrier's Data (Briefly)
Turn on international roaming on your home SIM for just 2 minutes to download the eSIM profile. It only needs 1-5MB of data. Even expensive roaming rates won't cost much for such a tiny download.
Option 2: Ask Airport Staff
Most airports have information desks with WiFi access. Some airline lounges offer WiFi. Even airport cafes (Starbucks, Costa) typically have free WiFi.
Option 3: Hotspot from a Travel Companion
If you're traveling with someone who has data, ask them to share a hotspot for 30 seconds while you scan and install your eSIM.
Option 4: Use the Airline's In-Flight WiFi
Some airlines offer in-flight WiFi (free or paid). You can install your eSIM during the flight so it's ready when you land.
Step-by-Step: Install eSIM on iPhone
- Go to Settings → Cellular → Add eSIM
- Choose Use QR Code
- Scan the QR code from your email (requires internet connection)
- Wait for the profile to download (5-30 seconds)
- Tap Done → Label it (e.g., "Thailand Travel")
- When asked about default line settings, keep your home SIM as default for calls/SMS
- Your travel eSIM is now installed and ready
To activate at destination: Settings → Cellular → select your travel eSIM → toggle Turn On This Line → enable Data Roaming
Step-by-Step: Install eSIM on Android (Samsung / Google Pixel)
- Go to Settings → Connections → SIM manager → Add eSIM
- Choose Scan QR code
- Scan the QR code from your email (requires internet connection)
- Wait for download and installation
- Name the eSIM (e.g., "Japan Data")
- Set as mobile data SIM when ready to use
To activate at destination: Settings → Connections → SIM manager → select travel eSIM → enable it → turn on Data Roaming
Common Activation Scenarios
Scenario 1: "I'm at home, flying tomorrow"
✅ Best case. Install the eSIM now on your home WiFi. Tomorrow when you land, just enable it. Zero stress.
Scenario 2: "I'm at the departure airport gate"
✅ Fine. Connect to airport WiFi, install the eSIM in 2 minutes. It'll be ready when you land.
Scenario 3: "I'm on the plane and just remembered"
⚠️ Check for in-flight WiFi. If available, install during the flight. If not, you'll need WiFi after landing.
Scenario 4: "I just landed and haven't installed it yet"
⚠️ Look for airport WiFi. Most international airports have free WiFi. Check the arrival hall, information desk, or airport cafe.
Scenario 5: "I landed and there's no WiFi anywhere"
🆘 Emergency options: Turn on home carrier roaming briefly (1-5MB needed), ask another traveler for a hotspot, or find a cafe/hotel with WiFi.
Frequently Asked Questions
How much data does eSIM installation use?
Very little — typically 1-5MB. Even on expensive roaming, this would cost less than $1 in most cases.
Can I install an eSIM without any internet at all?
No. The initial download requires internet (WiFi or mobile data). Once installed, no internet is needed to activate at your destination.
What if my QR code doesn't scan?
Most eSIM providers give you a manual installation option: an SM-DP+ address and activation code. You can type these in manually under Settings → Cellular → Add eSIM → Enter Details Manually.
Can I install the eSIM days before my trip?
Yes. Install it anytime — it stays dormant until you enable it. Installing early is the smartest approach.
Does airplane mode affect my eSIM?
Airplane mode disables all connections temporarily. When you turn airplane mode off after landing, your eSIM will connect automatically. This is normal.
Can I install multiple eSIMs?
Yes. Most modern phones support multiple eSIM profiles (iPhone supports 8+, Samsung supports 5+). You can pre-install eSIMs for multiple destinations.
What if installation fails?
- Make sure you have a stable internet connection
- Restart your phone and try again
- Check that your phone model supports eSIM
- Try entering the details manually instead of scanning
- Contact your eSIM provider's support
The Bottom Line
Install your eSIM before you leave home. This eliminates all WiFi worries at the airport. The process takes 2 minutes on your home WiFi, and the eSIM stays dormant until you activate it at your destination.
If you forget, most airports have free WiFi. If even that fails, a few seconds of roaming data from your home carrier is enough to complete the download.
Need an eSIM for your next trip? Browse eSIMHop plans for 170+ countries — install before you fly, connect when you land.
Download the eSIMHop app for easier management
Buy, install and manage your eSIM plans on the go